

We are very excited to extend our range of in-house printed JAMPOD panels to include custom printed soft book pages!
Custom Printed Soft Photo Memory Books make wonderful unique gifts for new babies and toddlers, and for anyone living with dementia and memory loss or sensory processing sensitivity.
By following the instructions in the listing, you can upload your images, choose your cover design, and select a frame style to receive beautifully printed panels ready to turn into a high quality soft book that you can keep, gift or even sell! That's right, if you have a business, you can offer this service to customers and sell the finished product!

Instructions to Make Your Own: Soft Photo Memory Book
Be sure to read through to the end before starting!
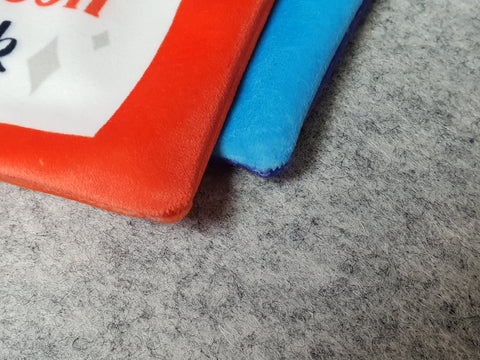
Check each panel, and ensure that you have them in the correct order. Each double page spread needs to be matched correctly to ensure the pages are in the right order once sewn. Using the colours as a guide, you should match the front cover (red) with page 2 (orange), and page 3 (yellow) with page 4 (green).

With right sides together, carefully align the page panels and pin or clip together.

You should be able to see the print through the wrong side of the fabric so you don't have to worry about trimming the excess fabric away in order to line them up accurately, but if you prefer, you can trim the panels before sewing, leaving at least a 1cm seam allowance the whole way around.
Using a straight stitch, carefully sew the two pages together following the edge of the print which will help to keep your frame straight.
Leave an opening of about 4cm so you can turn your pages right side out.

If you find you have any white showing through the seam, flip your pages inside out again and restitch that part. Trim away the excess fabric leaving a seam of about 1cm. Clip across the corners to remove bulk so your corners will be square.

Use a point turner, knitting needle, pencil end, chopstick, etc to push the corners out.
Carefully fold in the seam at the opening and pin or clip.

Using a straight stitch, top stitch around the outer edge of your pages and close the opening you left.

Repeat each step until all of your photo pages have been assembled and top stitched.

Now we're going to secure all of the pages together by sewing down the spine. Collate your pages and check that they are in the correct order with the front cover page on the top right. Sandwich the layers together, and carefully align your centre line. Use fabric clips to help keep the layers together. Reinforce the spine at either end with a few extra backstitches.

And that's it! You've just made your first Soft Photo Memory book!

Pro Tips:
- Our page panels are printed on a poly velvet that is very soft but can slip a little. Try stitching pieces of the panel offcuts together to see how your sewing machine handles this fabric. You may prefer to use a walking foot.
- When aligning the page panels, a Fabric Glue Pen dabbed in the seam allowance will help if you are concerned about the fabric moving out of alignment while sewing. Alternatively you could use a small piece of hem tape but again it should be positioned in the seam allowance and not on the printed areas as it will need to be removed when your pages are turned right way out.
- For best results use a Stretch needle and ballpoint pins.
- Reduce your presser foot pressure so your feed dogs don't scuff the fabric. You can also place a piece of tissue paper between the feed dogs and the fabric to protect the velvet pile. The paper is then gently ripped away from the stitches after sewing.


